


Written by David Wright - teacher at Pump Street Sourdough Workshops and author of Breaking Bread: How Baking Shaped Our World
Jump to a section:
Already got a starter going? Read our guide on how to maintain and feed a sourdough starter.
A sourdough starter is a mix of flour and water that hosts a population of yeasts and microbes that are especially suited to bread making. The yeasts feed on the sugars in the flour and multiply, releasing carbon dioxide as they go - this helps your sourdough rise. The bacterial elements develop the sourness associated with sourdough by releasing acids as they, too, feed on the flour.
"To master the care of a sourdough starter it is helpful to imagine yourself as the conductor of an orchestra"
To master the care of a sourdough starter it is helpful to imagine yourself as the conductor of an orchestra. There are so many elements that need to be balanced and keeping the rhythm of feeds and fermentation are your main tools. You must understand what is happening inside that incomprehensible gloop however - so read on.
The answer is ‘very little’. All that is required is some flour and water, every other ingredient is either bound up within the seed that has been milled or has hitched a ride on its husk.
Ingredients
Tools
We maintain two starters at Pump Street Bakery, a wheat starter and a rye starter. It is possible however to make sourdough starters with many flours such as buckwheat, amaranth or any of the thousands of varieties of cereal grain available.
Sometimes you may see a recipe calling for fruits such as apple or grapes, this is because the skins of these fruits harbour populations of the microbes we wish to attract and populate. This will only be the case if you use organic fruits as they wont have had their bacterial coats chemically inhibited.
It is recommended to use organic, stoneground flour to initiate a sourdough starter due to the extra vitality the flour contains. Stoneground Dark Rye flour will ferment faster than the equivalent wheat flour due to the higher amounts of amylase. Amylase converts starches into sugars that the yeasts and bacteria feed on, rye flour does this faster and hence the fermentation is accelerated.
“We recommend sticking to the flour you will continue to feed the starter with"
We recommend sticking to the flour you will continue to feed the starter with, the soup of living cells will get trained to feed on a certain flour and will perform better with consistent feeding. The short answer is that you can feed with many flours but best to stick to one once you’ve started the process. If you want to add in new and interesting flours then it is best to make them part of your final dough recipe.
Yes - especially early on.
In some areas the tap water is treated with high levels of chemicals with the task of killing the kinds of cells we wish to propagate. As such we would recommend you use filtered water or bottled spring water to give your embryonic starter culture the best possible start.
Once your starter is mature and healthy you can feed with tap water without any issues, but it will help to use the filtered stuff through the first fragile stages.

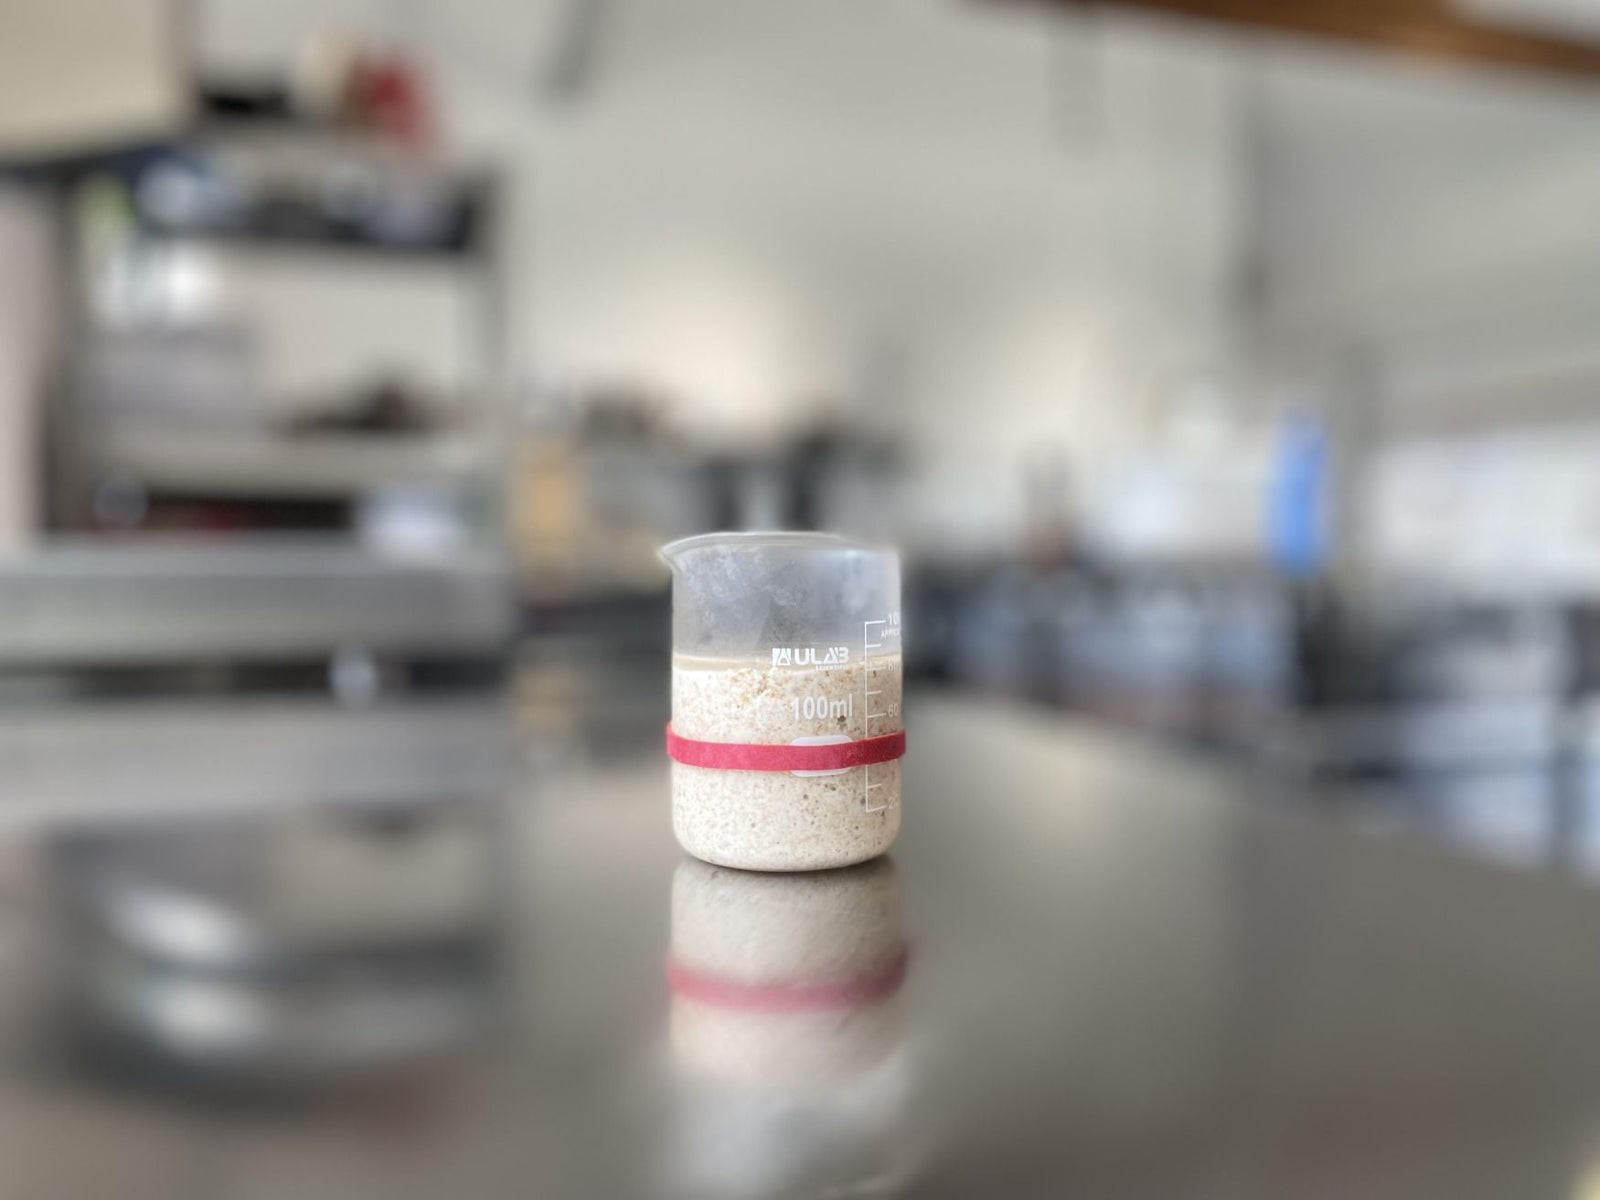
Day 1: Just mixed. A fresh sourdough starter sitting low in the jar, before fermentation begins.
Day 1:
Mix together 20g filtered water and 20g of organic wholemeal flour - use your finger for an extra inoculation of microbes. Lightly cover with a damp cloth and leave in a warm spot for 24hrs.

Placing a red band around the jar helps to track how much your starter rises.
Day 2:
Add 20g of filtered water and 20g of organic wholemeal flour and mix as before. You will now have 80g of starter. Cover and leave for a further 24hrs.
Day 3:
Add 40g of filtered water and 40g of organic wholemeal flour, mix, cover and leave for a further 24hrs.

A few days in, and the starter is already on the move. The red band shows where it began.
Day 4/5/6/7:
Discard 80g of the starter and then add 40g of filtered water and 40g of organic wholemeal flour, mix, cover and leave for a further 24hrs.
By the seventh day the starter should double in volume in 3hrs in a warm environment and be bubbly and jelly-like.

A well-fed starter that’s doubled in size and bubbling with life. Look for that mousse-like texture and sometimes a tangy scent.
Making sure your sourdough starter is “ripe” and ready to use in the final dough recipe is one of the most important stages of bread making. If your starter isn’t doubling in volume in 3hrs (in a warm spot) and has a moussy or jelly consistency then it needs to be developed further.
The starter should smell acidic, but there is no rule for this. The acidity of a starter may differ, giving your bread its own personal character. Whilst you can keep your starter in the fridge to reduce the need to keep up the feeding schedule, it is important to keep the infant starter warm and cosy to help the desired yeasts and bacteria to multiply quickly.
If your starter looks like clay then delay!
Let the microbes feed until you can see the telltale gasses of fermentation in your little dough. If you are using stoneground organic flour then you shouldn’t have any issues with underfermenting as it will be full of life. We initiated a starter using freshly ground emmer grain and it was a mousse of fermented flour after only 24 hours!

A top-down look at a thriving starter with a bubbling surface that shows fermentation is in full swing
Many times we get home bakers sheepishly approaching us and confessing that they have killed their starter. Whilst wringing their hands in apology they will describe how the starter resembled wet clay with a deathly black ‘hooch’ liquid capping it. They had assumed there was no way to salvage it and ceremonially buried it in their compost heap.
But alas! Those starters were not dead at all. It is actually quite hard to kill a starter due to the way that yeasts behave when they run out of food. The acid forming bacteria also provide a food safe environment with the pH level too low for most pathogenic (food poisoning) bacteria to take hold. The cap of alcohol (yes that black liquid is ethanol) also protects the sleeping beauty further.
We have purposefully tried to kill a starter by leaving it for months without feeding it and on each occasion we were able to make sourdough with it after just two warm feeds. You can overfeed a starter as well as underfeeding it and this can result in a sluggish fermentation that will take time to ripen. If you try to use an over-fed or under-fed starter in your bread recipe you may struggle to get a decent result.
Here’s a bit more detail on the life cycle of a yeast cell…
Spend the day with David learning how to shape, ferment, and bake in our dedicated workshop space just down the road from the bakery in Orford. You’ll leave with fresh loaves, a jar of starter, and the confidence to bake at home.

